Most sign-off for a social post happens in a chat. You paste a screenshot, someone replies "looks good, maybe tweak the second line", you tweak it, and the post that goes out on Thursday is whichever version was in the scheduler when Thursday came round. Nobody can say for sure which one the client saw.
Approvals in Orbitwrite put the request, the feedback and the decision on the post. A post waiting on review sits in its own column on the planner, and a blocking request holds it there until a reviewer approves it. This guide sets that up for two kinds of team: a freelancer posting on behalf of a client, and a small team where one person signs off on everyone else's posts.
Decide who reviews
Reviewers are people in your workspace, so a freelancer's first step is inviting the client. In Settings, open Members and click Invite member. Send the invite by email, or create a shareable link and drop it in an email of your own. Give the client the Member role. A member can review any post they're named on, comment on it and suggest edits, and channels, billing and workspace settings stay with you.
On a small team, the roles decide who needs a review in the first place:
- Members write and schedule. Their posts go out once a reviewer approves them, so the composer's Publish button reads Request approval for them, and the approval dialog opens when they schedule.
- Managers, admins and owners publish directly, and they can approve any post in the workspace.
A member's own post always goes to somebody else for review. Approvals are part of the Advanced plan, which has no cap on members, so adding a client to the workspace adds nothing to the bill.
Ask for review on the post
Open the post in the composer, open the Info panel and click Add approval in the Approval row. The command menu has the same action as Request review, and on the planner you can drag a card from Drafts into Needs approval.
The dialog asks for three things:
- Select reviewer(s): tick everyone who should sign off.
- Message (optional): what you want them to look at, such as the offer wording or the image crop.
- Due date (optional): shows on the request, and in the reviewer's email as the date to review by.
Three switches below them decide how the request behaves:
- All reviewers must approve the post is off by default, so one approval clears it. Turn it on when the client and their manager both need to say yes.
- This is a blocking approval holds the post until it's approved. With it off, the request is a heads-up and the post goes out at its scheduled time whatever the review says. For client work, turn it on. A member's requests are always blocking.
- Publish as soon as it's approved sends the post the moment it's approved. With it off, an approved post waits for the time it's scheduled for.
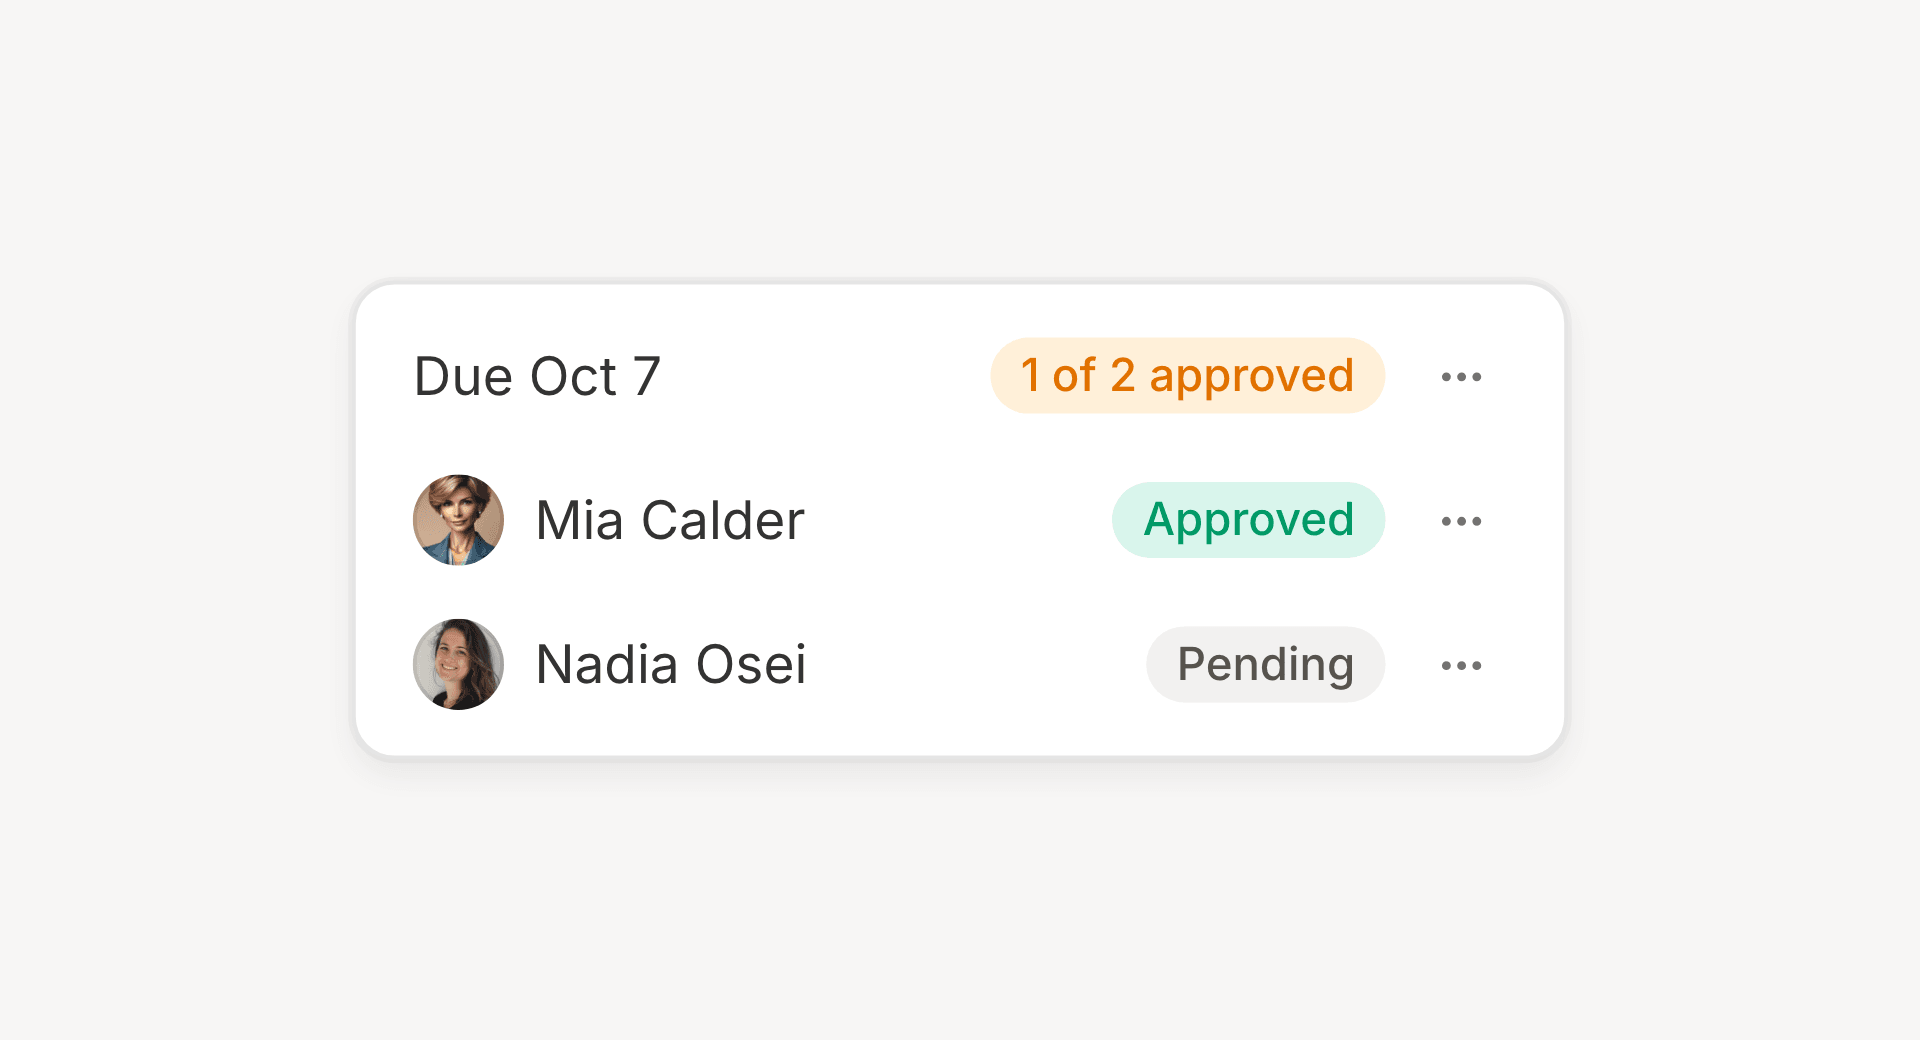
Click Submit. Each reviewer gets an email with a Review the post button and a notification in Orbitwrite, and the Approval row now tracks the request, with each reviewer's decision beside their name.
A post can be scheduled while its review is open. Orbitwrite asks you to confirm first, and when the time comes round before anyone has approved it, the post moves back to drafts with a note asking for a new time. Approving a post whose time is still ahead puts it straight back on the schedule.
Approve or send it back
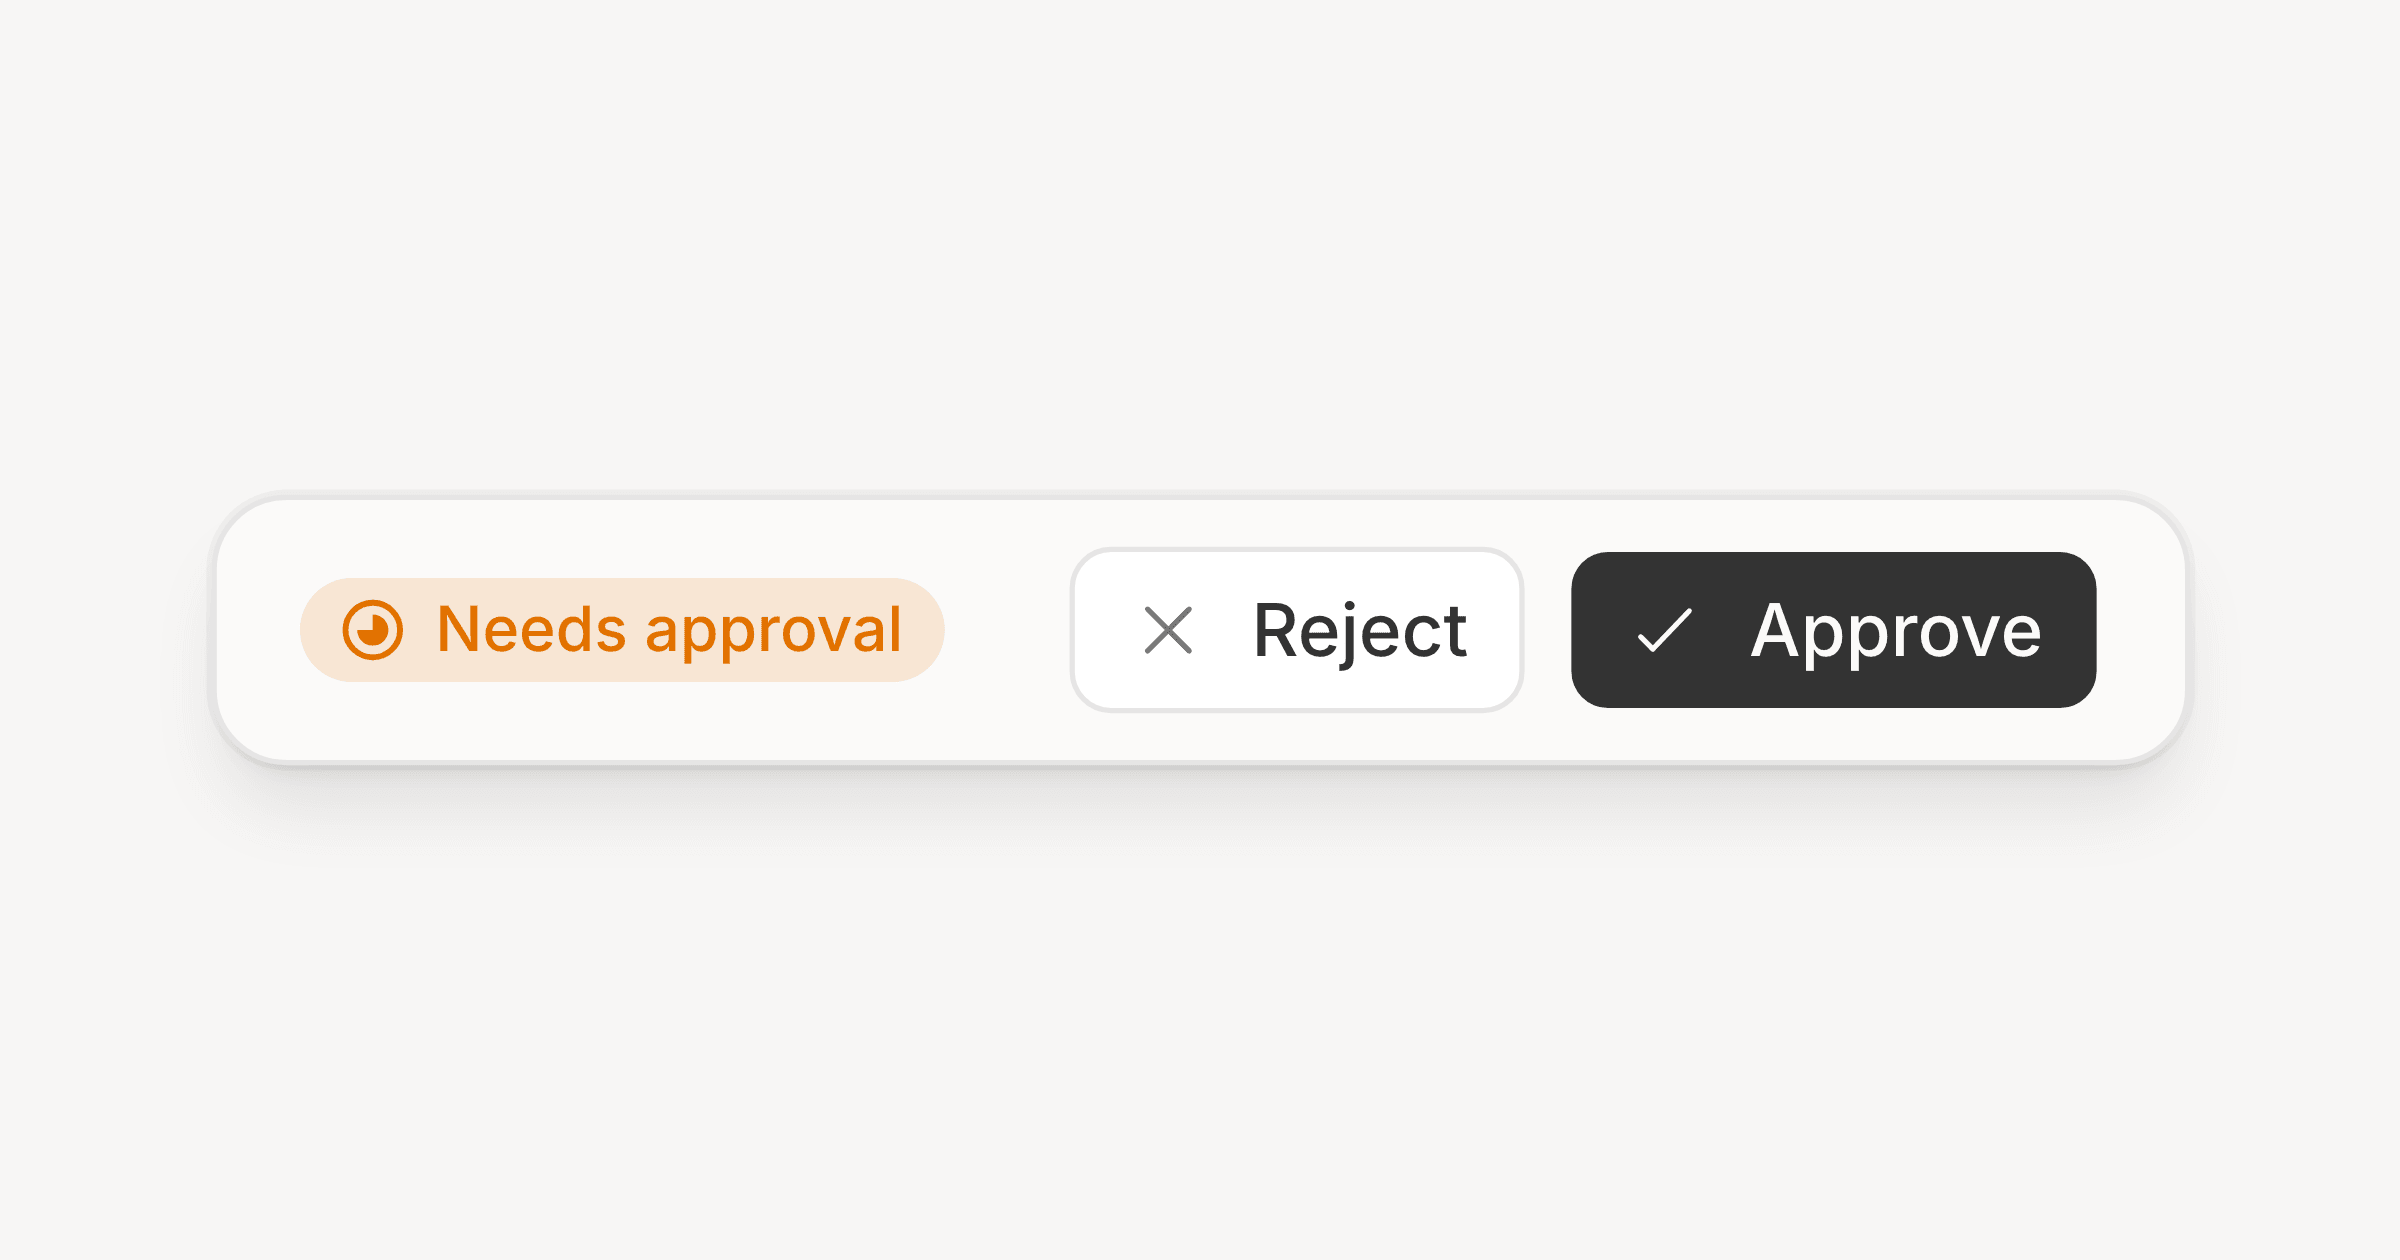
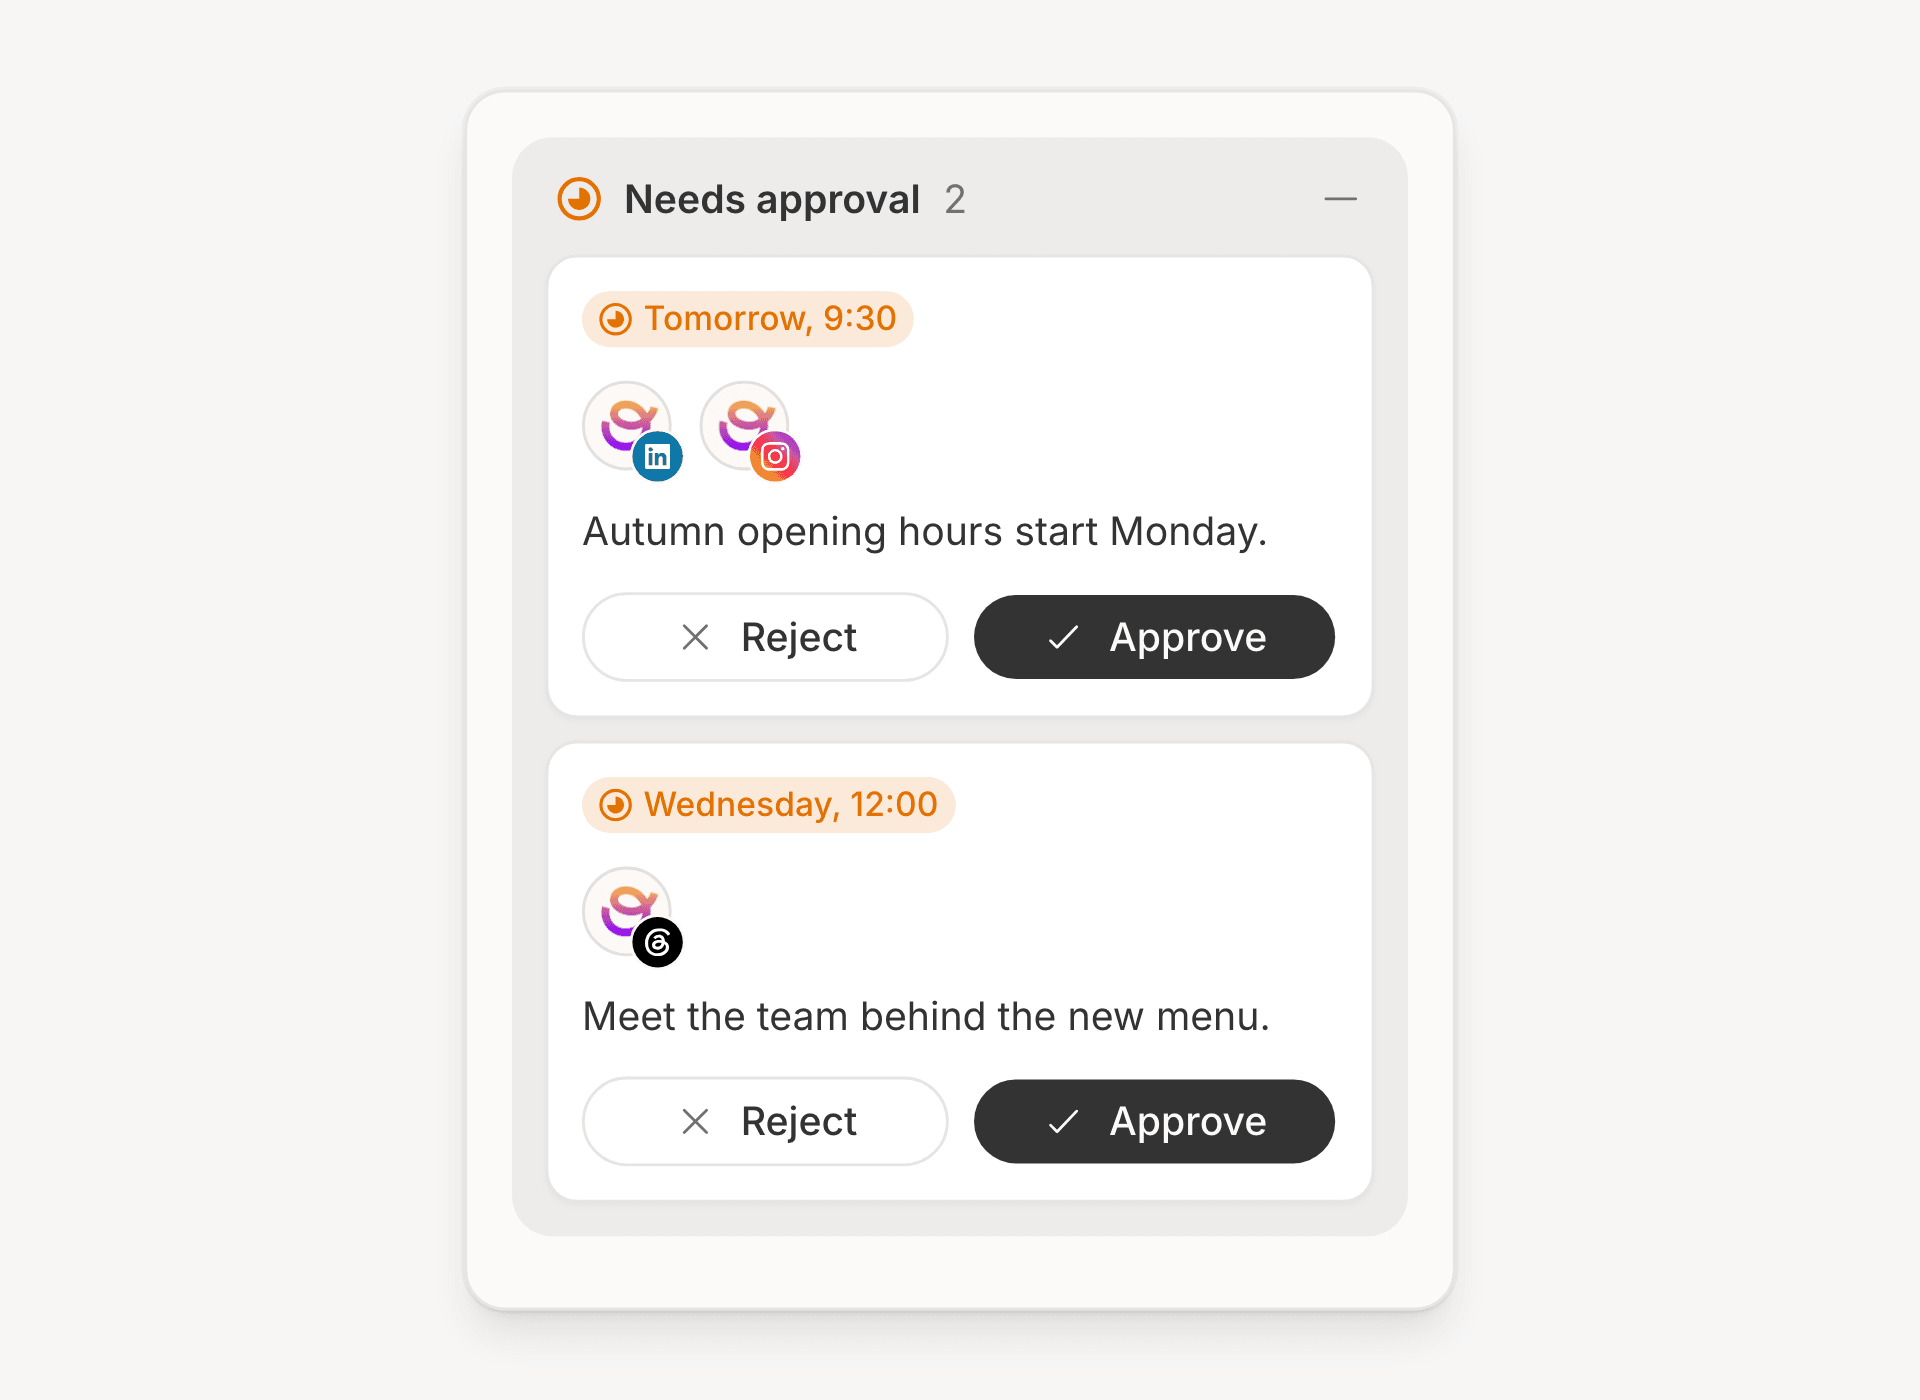
The reviewer opens the post from the email, and Reject and Approve sit at the top of the composer. On a phone they sit in a bar along the bottom of the screen. Every post waiting on a reviewer also sits in the planner's Needs approval column with the same two buttons on each card, so a client with a week of posts to look at can work down the column without opening each one.
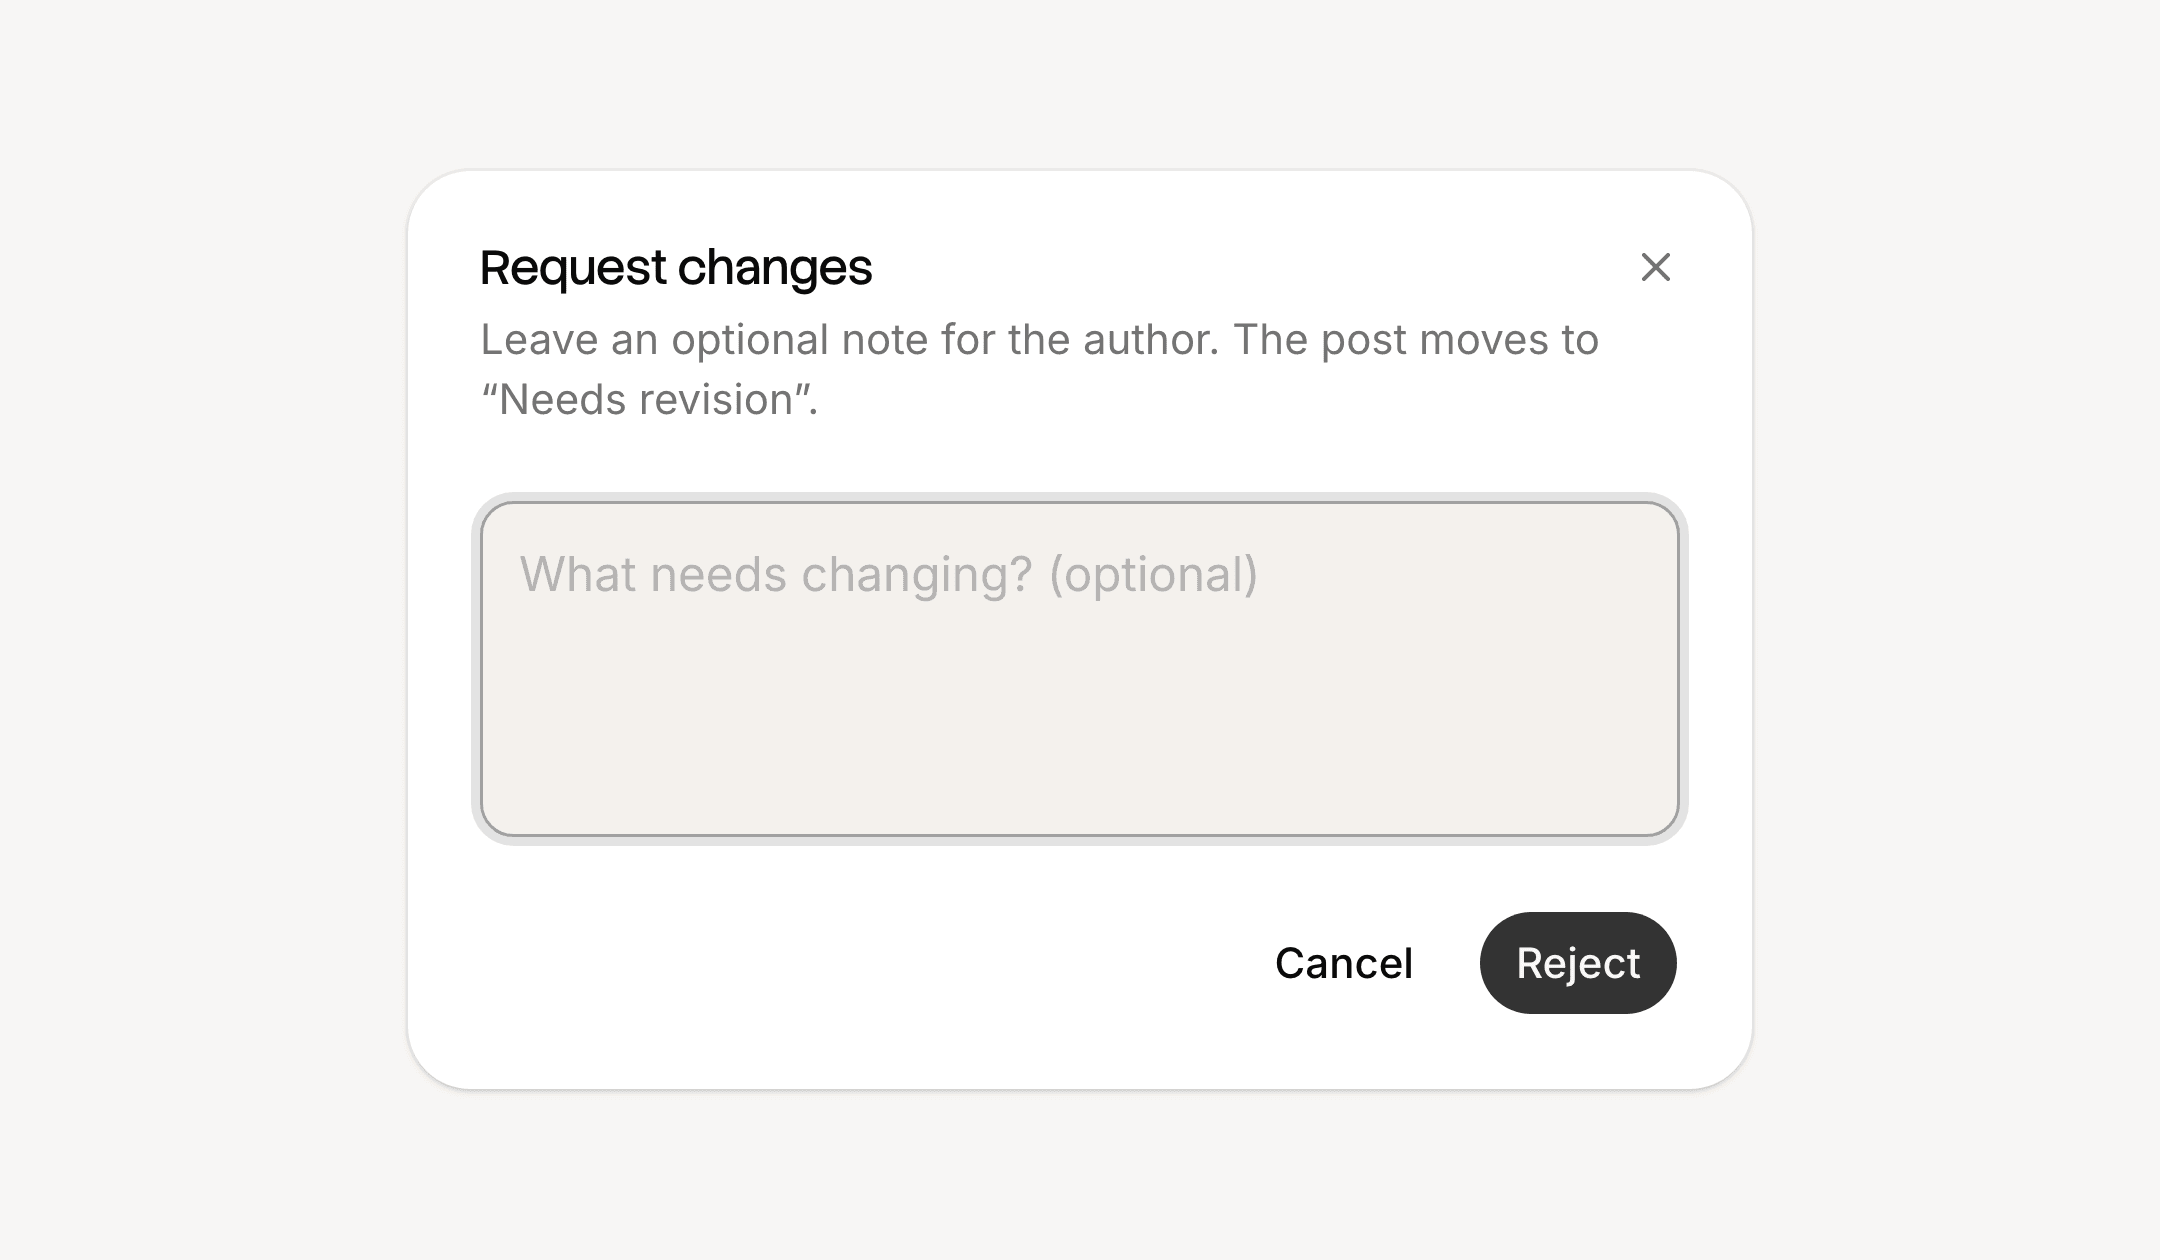
Reject opens a Request changes dialog with room for a note. The note lands on the draft as a comment, next to the words it's about, and the post moves to Needs revision.
Once the copy is fixed, whoever runs approvals (the freelancer, or the team lead) drags the card back into the Needs approval column, or picks Reset approval from the menu on the Approval row. That clears every reviewer's decision, so they review the new version.
On a team that lives in Slack, connect it and route approval requests to a channel. The message carries its own Approve and Reject buttons, and they work for anyone whose Slack email matches their Orbitwrite account.
Keep the conversation on the post
A reject note is often the start of a longer conversation, and the Comments panel is where it carries on. Highlight a phrase before you comment and the comment anchors to it. Replies, mentions and resolved threads all stay on the post, so the next person to open it reads the whole history.
For wording changes, suggested edits save a round of back and forth. Pick Suggest edits from the composer's menu and a Suggesting pill appears in the header. Everything typed from then on shows inline as an insertion or a deletion, and the author accepts or rejects each one from the Comments panel. A client who knows exactly what they want the second line to say can write it on the post.
A setup for each team
A freelancer with one client can invite the client as a member, name them on each post with a blocking request and a due date, and leave Publish as soon as it's approved off so approved posts keep their slots. Schedule a week ahead and let the client work down Needs approval when it suits them.
A small team gives writers the Member role and the lead the Manager role. Writers schedule as normal and their posts wait in Needs approval for the lead, who approves from the planner or from Slack.
Either way, the request, the notes and the final yes all sit on the post. The collaboration page covers the rest of what reviewers can do, and the composer is the place to try it: open a draft, click Add approval in the Info panel and name someone.